Setting up Jekyll on AWS S3 - Part 2
Setup on EC2
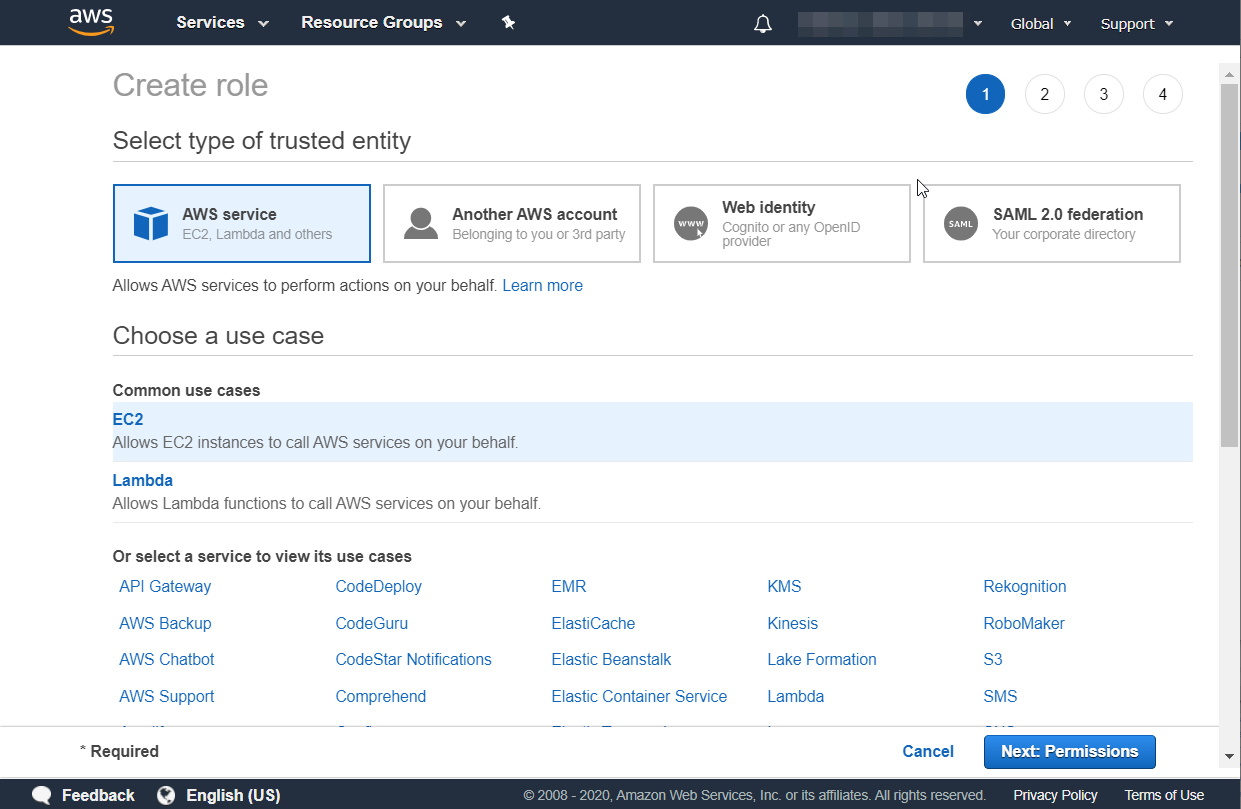
1. Preparing Your IAM Role for EC2
We will be using this EC2 instance to push your Jekyll to the S3 bucket, hence we need to give EC2 permission to your S3 bucket. If you have create a EC2 role before you can skip to here.
Services » IAM » » Role » Create Role
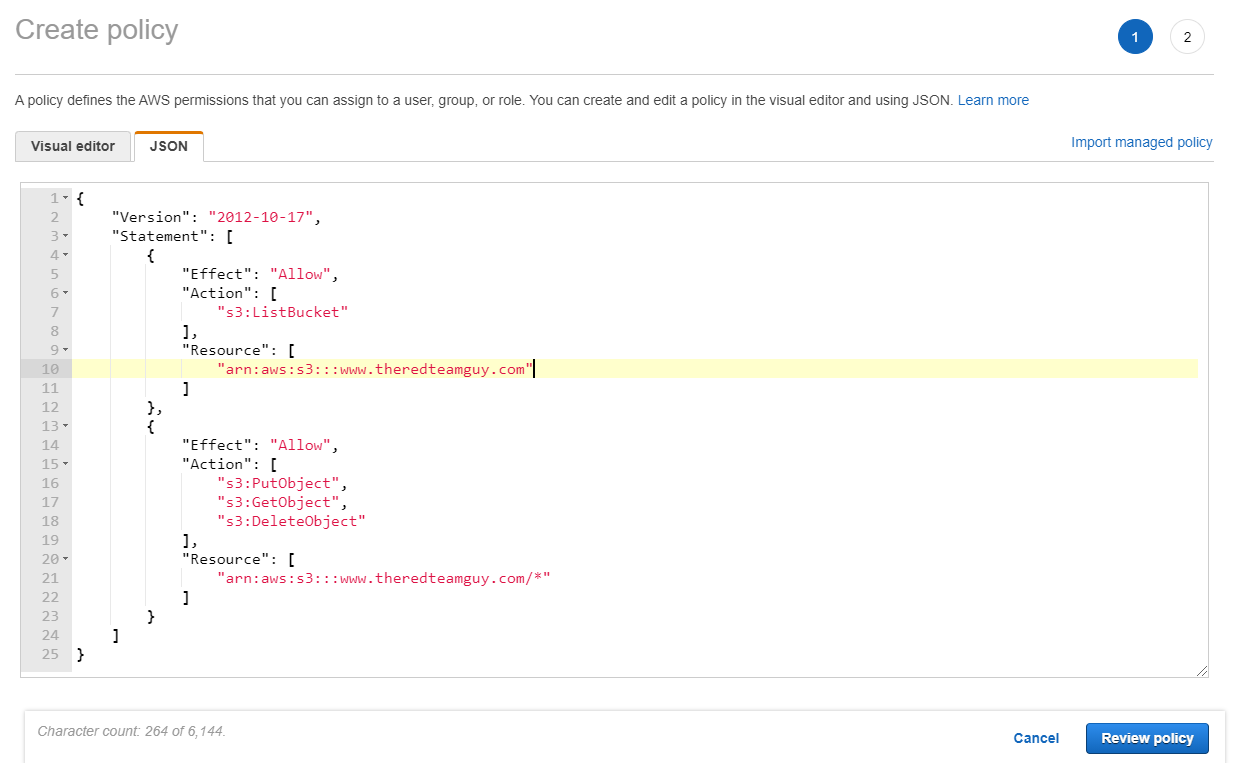
2. Create policy
I personally prefer using json then th AWS Visual editor. Use the following json as your IAM policy.
{
    "Version": "2012-10-17",
    "Statement": [
        {
            "Effect": "Allow",
            "Action": [
                "s3:ListBucket"
            ],
            "Resource": [
                "arn:aws:s3:::www.theredteamguy.com"
            ]
        },
        {
            "Effect": "Allow",
            "Action": [
                "s3:PutObject",
                "s3:GetObject",
                "s3:DeleteObject"
            ],
            "Resource": [
                "arn:aws:s3:::www.theredteamguy.com/*"
            ]
        }
    ]
}
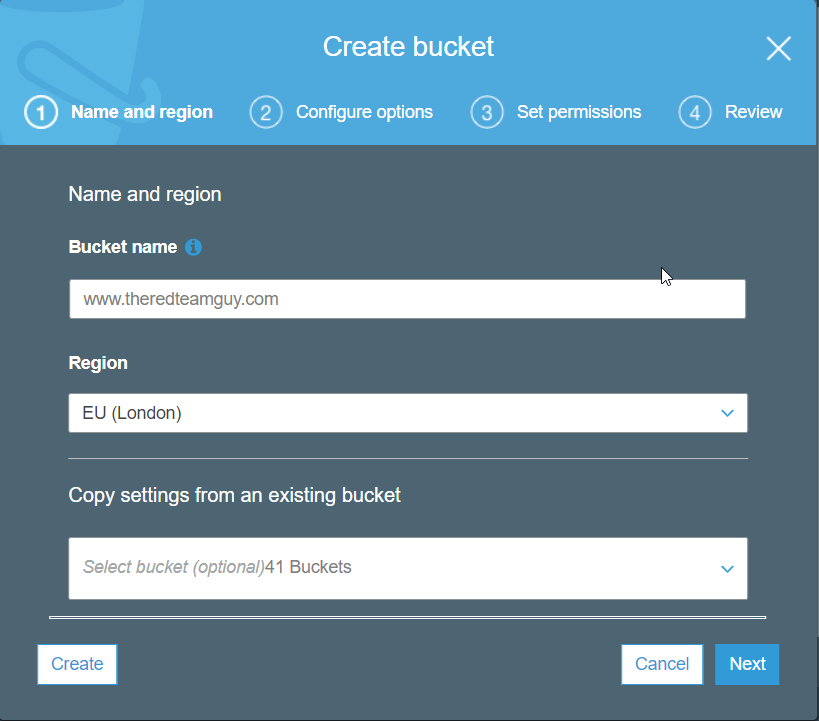
Note: Be sure to change your resource to your bucket name. Also ensure to include /* at the end of yourS3 bucket name.
Note: Be sure to change the error document to 404.html as Jekyll by uses that as their default error page.
Permissions » Block all public access

3. Install Jekyll and all dependencies using EC2 User Data.
Next, we will be installing Jekyll and all its dependencies. To simplify the setup we will be using EC2 User Data.
EC2 User Data is basically a startup script that runs during initial boot. You can just copy and paste the script below into your EC2’s User Data. Mind that I am using Jekyll’s hyde template as a PoC.
sudo apt-get update
sudo sudo apt-get -y install ruby-full build-essential zlib1g-dev openjdk-8-jre
echo '# Install Ruby Gems to ~/gems' >> ~/.bashrc
echo 'export GEM_HOME="$HOME/gems"' >> ~/.bashrc
echo 'export PATH="$HOME/gems/bin:$PATH"' >> ~/.bashrc
source ~/.bashrc
sudo gem install jekyll bundler
gem install jekyll-paginate jekyll-gist
(this can take awhile, go grab a coffee. 3-5 minutes)
sudo gem install s3_website
Note: Be sure to change the resource parameter to your bucket name. /* is required to access all S3 objects.